SpringBoot中使用pagehelp实现分页
1.在pom.xml中添加依赖
<dependency>
            <groupId>com.github.pagehelper</groupId>
            <artifactId>pagehelper-spring-boot-starter</artifactId>
            <version>1.2.10</version>
        </dependency>
2.在application.properties中添加设置信息
#pagehelper
#配置helperDialect属性来指定分页插件使用哪种数据库
pagehelper.helperDialect=MySQL
#分页合理化参数,默认值为false。当该参数设置为 true 时,pageNum<=0 时会查询第一页, pageNum>pages(超过总数时),会查询最后一页。默认false 时,直接根据参数进行查询
pagehelper.reasonable=false
#支持通过 Mapper 接口参数来传递分页参数,默认值false,分页插件会从查询方法的参数值中,自动根据上面 params 配置的字段中取值,查找到合适的值时就会自动分页
pagehelper.supportMethodsArguments=false

pagehelper.params=count=countSql
#默认值为 false,该参数对使用 RowBounds 作为分页参数时有效。 当该参数设置为 true 时,会将 RowBounds 中的 offset 参数当成 pageNum 使用,可以用页码和页面大小两个参数进行分页
pagehelper.offsetAsPageNum=true
#默认值为 false,当该参数设置为 true 时,如果 pageSize=0 或者 RowBounds.limit = 0 就会查询出全部的结果(相当于没有执行分页查询,但是返回结果仍然是 Page 类型)
pagehelper.pageSizeZero=true
3.在controller中编写代码
@RequestMapping("/findAll")
public String listCategory(Model m , @RequestParam(value = "start",defaultValue = "1")int start,
                           @RequestParam(value = "size",defaultValue = "5")int size)throws Exception {
    PageHelper.startPage(start, size);
    PageInfo pageInfo = new PageInfo(empService.findAll());
    m.addAttribute("pageInfo", pageInfo);
    return "ems/emplist";
}
4.在前端界面实现
<tr class="row1" th:each="item:${pageInfo.list}">
<td>
<span th:text="${item.id}">id</span>
</td>
<td>
<span th:text="${item.name}"></span>
</td>
<td>
<span th:text="${item.salary}"></span>
</td>
<td>
<span th:text="${item.age}"></span>
</td>
<td>
<span th:text="${item.bir}"></span>
</td>
<td>
<a th:href="@{/emp/delete(id=${item.id})}">删除信息</a>
<a th:href="@{/emp/find(id=${item.id})}">修改信息</a>
</td>
</tr>
</table>
<p>
<input type="button" class="button" value="添加员工" onclick="location.href='/ems/toSave'"/>
</p>
</div>
<div align="center">
<a th:href="@{findAll?start=1}">[首页]</a>
<a th:if="${not pageInfo.isFirstPage}" th:href="@{findAll(start=${pageInfo.pageNum-1})}">[上页]</a>
<a th:if="${not pageInfo.isIsLastPage()}" th:href="@{findAll(start=${pageInfo.pageNum+1})}">[下页]</a>
<a th:href="@{findAll(start=${pageInfo.pages})}">[末页]</a>
<div>
当前页/总页数: <a th:text="${pageInfo.pageNum}" th:href="@{/findAll(start=${pageInfo.pageNum})}"></a>
/<a th:text="${pageInfo.pages}" th:href="@{/findAll(start=${pageInfo.pages})}"></a>
</div>
</div>
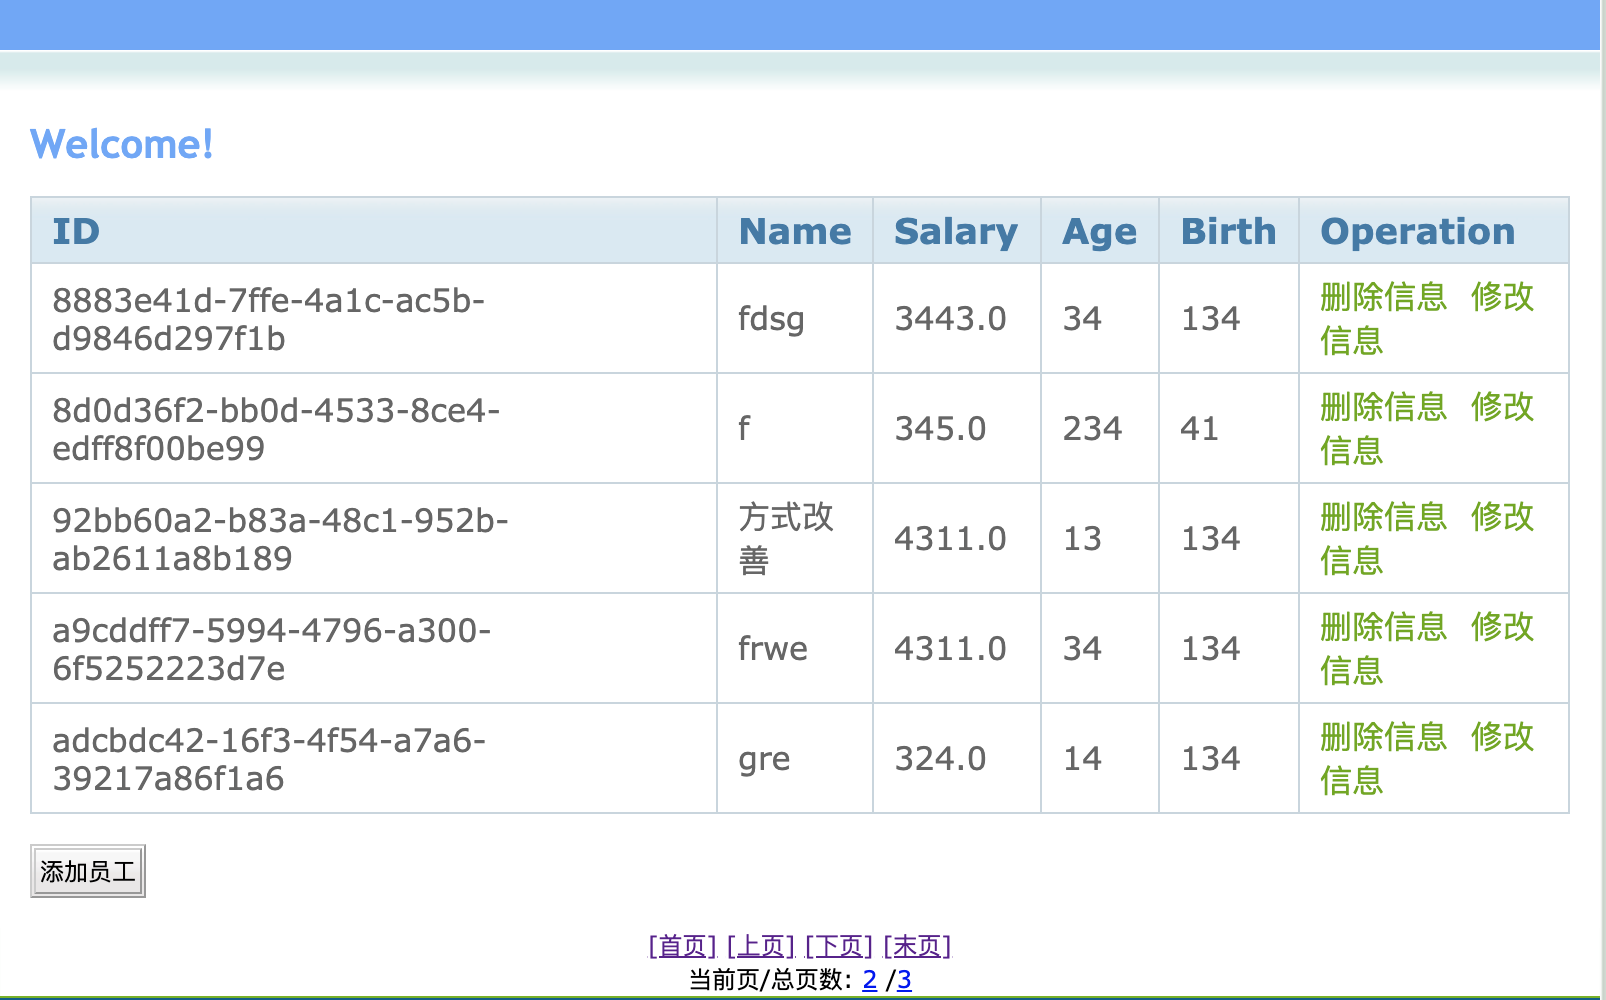
5.实现效果